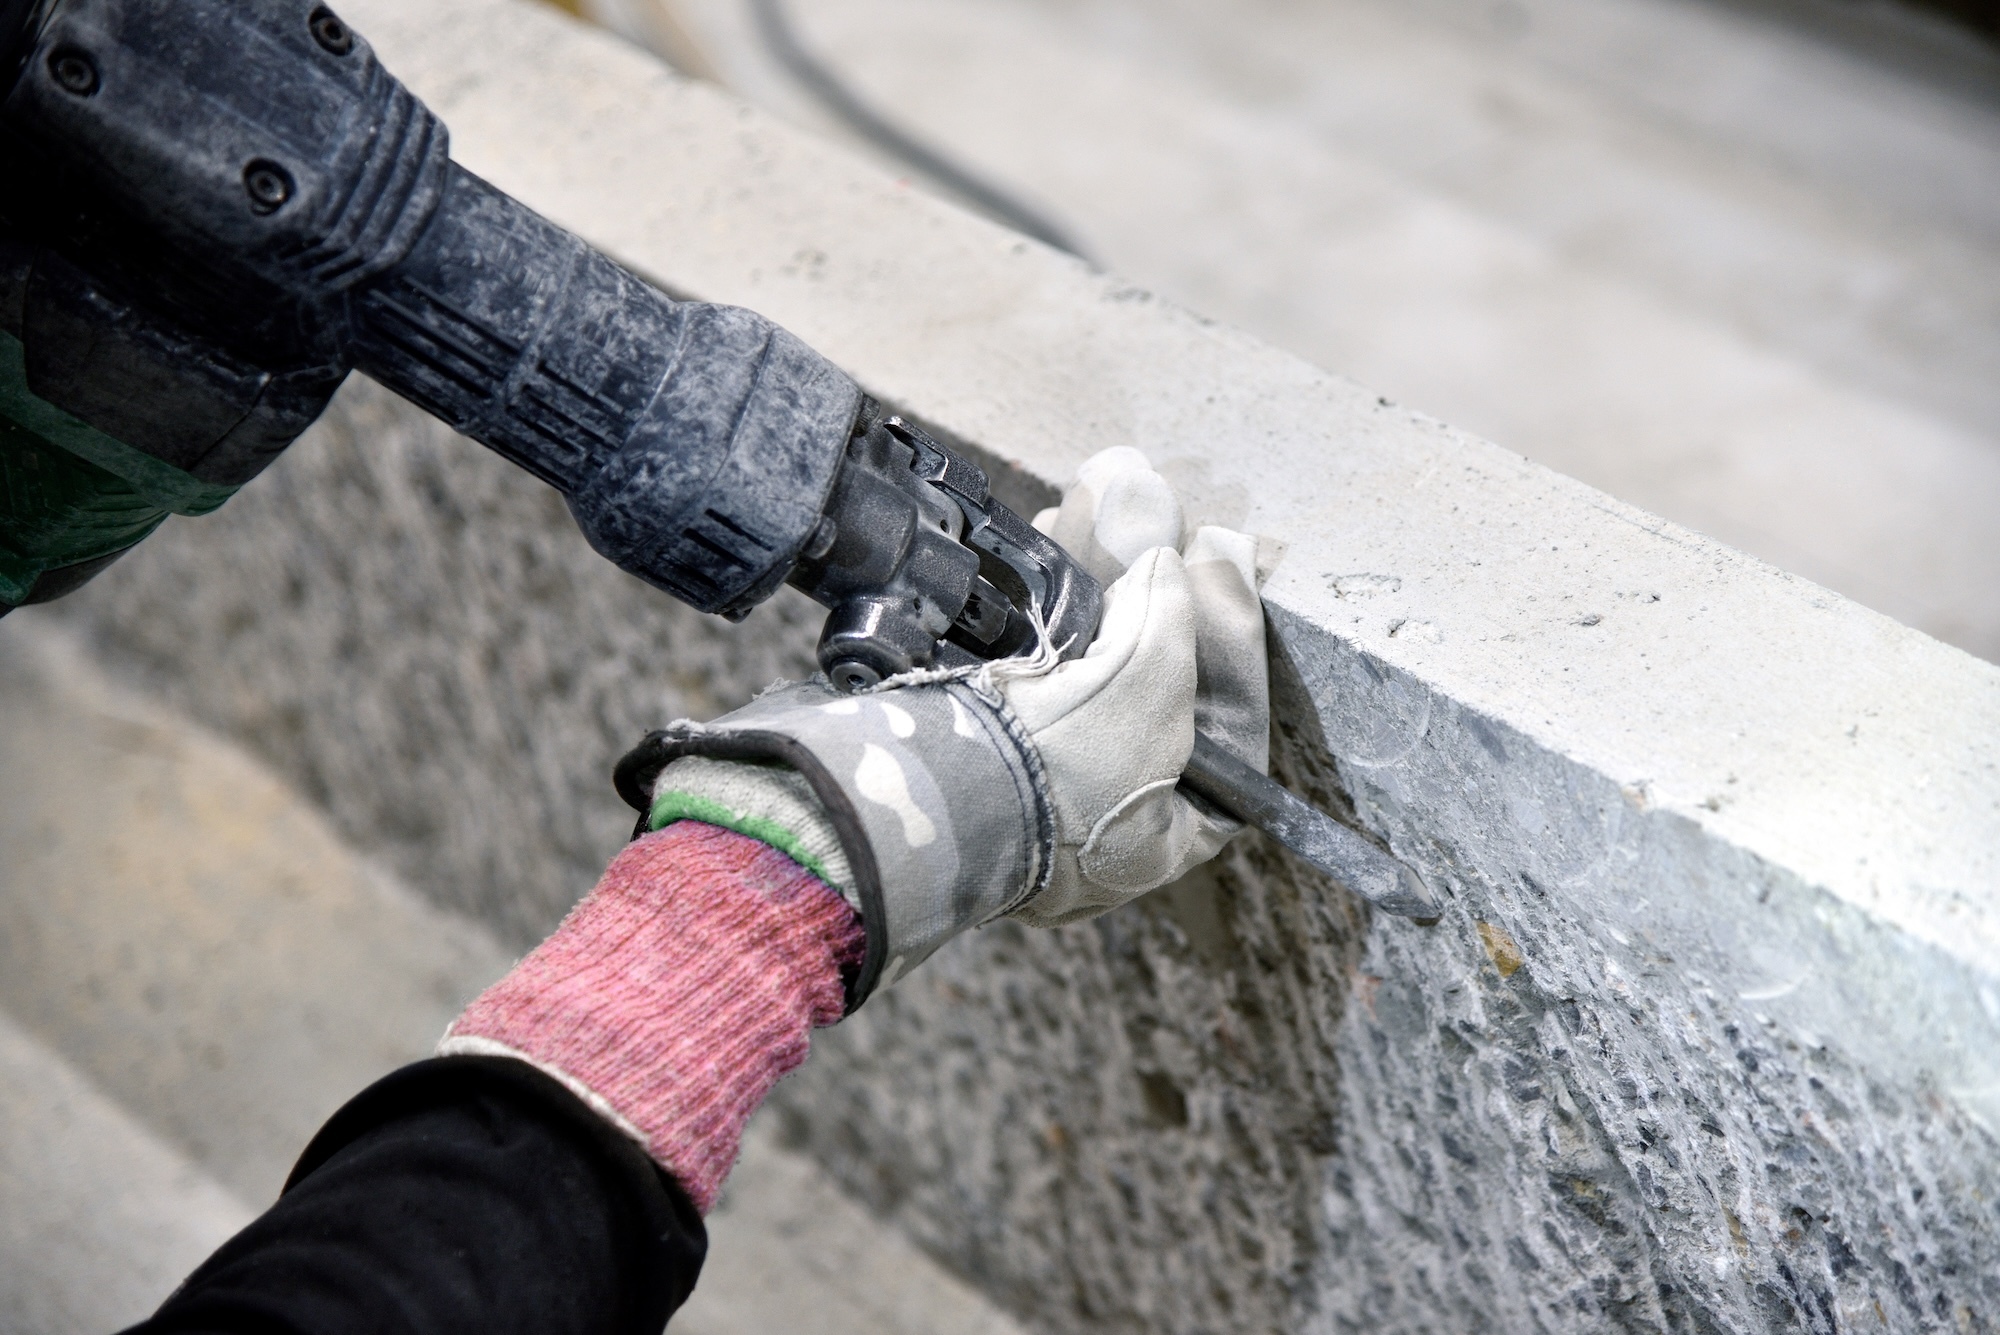
How to Repair and Troubleshoot Common Chipping Hammer Issues
Chipping hammers, whether pneumatic, electric, or manual, are robust tools designed for durability and efficiency. However, with frequent use, they can encounter issues. Understanding how to troubleshoot and repair common problems can save time and money, and keep your projects moving forward. Here's a guide to identifying and fixing some of the most common chipping hammer issues.
Pneumatic Chipping Hammer Issues
1. Loss of Power or Efficiency
· Cause: Often due to inadequate air supply, a clogged air inlet, or internal wear.
· Fix:
- Check the air compressor’s output and ensure it meets the tool's requirements.
- Clean the air inlet filter and hose to remove any blockages.
- Lubricate the tool with air tool oil through the air inlet to ensure smooth operation of internal components.
- Inspect for worn internal parts (e.g., pistons, cylinders) and replace as necessary.
2. Excessive Vibration
Cause: Typically caused by worn bearings or misalignment of internal parts.
· Fix:
- Disassemble the hammer as per the manufacturer’s instructions.
- Inspect bearings and replace if they show signs of wear or damage.
- Check the alignment of internal components and reassemble carefully.
Electric Chipping Hammer Issues
1. Tool Does Not Start
· Cause: Could be due to a faulty power switch, cord, or motor.
· Fix:
- Inspect the power cord for damage. If damaged, replace it.
- Test the power switch with a multimeter and replace it if defective.
- If the motor shows signs of burning or smells, it might need to be replaced. This repair is best done by a professional.
2. Overheating
· Cause: Overheating can result from overuse, insufficient cooling, or internal friction.
· Fix:
- Allow the tool to cool down periodically during heavy use.
- Clean vents and ensure proper ventilation around the tool.
- Check for and lubricate any internal components that may cause friction.
Manual Chipping Hammer Issues
1. Loose Head
· Cause: The head can become loose on the handle from repeated use.
· Fix:
- If the head is attached with a wedge, you can tighten it by gently tapping a new wedge into place.
- If the handle is damaged or the head cannot be secured, replace the handle.
2. Dull or Damaged Chisel
· Cause: Regular use can dull the chisel edge, reducing efficiency.
· Fix:
- Use a grinder or a file to sharpen the chisel edge. Ensure you maintain the correct angle and do not overheat the metal.
- Replace the chisel if it is cracked or too worn down.
General Maintenance Tips
- Regular Inspection: Regularly check your chipping hammer for signs of wear or damage. Catching issues early can prevent more significant problems down the line.
- Proper Lubrication: For pneumatic and some electric hammers, ensure you are using the correct lubrication to keep internal components running smoothly.
- Correct Usage: Using your chipping hammer for tasks it's not designed for can lead to premature wear and failure. Always use the right tool for the job.
Conclusion
Troubleshooting and repairing common chipping hammer issues can often be done with some basic knowledge and tools. However, if you're ever in doubt, particularly with electric hammers, consulting a professional or the manufacturer is the best course of action. Regular maintenance, proper use, and understanding the limits of your tool will ensure it remains a valuable part of your toolkit for years to come.

